By David
Build a sample first when the order is large, the design is new to the supplier, or the finished wall must read as one continuous image — and verify it by measurement, not by eye. Order directly only when the exact model has already been delivered to you and the production BIN, driver, and line are fixed in writing. This guide sets out when to sample, what to test, and how to hold mass production to the sample you approved.
Order directly only when you have already received the identical model from the same factory and can name the BIN, driver IC, and power supply in the purchase order. For a new design, a new supplier, a large or phased order, or any seamless wall, build a sample first — the fee is small against a full run that misses the mark.
A direct order is reasonable for spare cabinets, repeat buys of a proven model, or small accessory orders where the factory's existing stock is the product. In these cases the reference already exists, so a second sample adds little. The risk returns the moment the factory changes a component, a production BIN, or a line, because the product you approved is no longer the product being built.
A sample earns its place when a single bad decision scales across the whole order: an outdoor cabinet rated for the wrong structure, a pixel pitch that reads poorly at the intended viewing distance, or a colour temperature that shifts across a large wall. For a platform built to be sampled as one cabinet and delivered as many, see our indoor COB range at /products/cob-ef.html, where a single unit represents the finished series well.
| Project situation | Sample recommended? | Why |
|---|---|---|
| Identical model already delivered | Order directly | Reference and BIN already proven |
| New supplier, first order | Build a sample | Tests capability and communication |
| Seamless wall or one image | Build a sample | Colour spread only shows across modules |
| Repeat order, same BIN confirmed | Order directly | No new reference needed |
| Custom cabinet or structure | Build a sample | Confirms the mechanical interface |
| Phased order over months | Build a sample | Locks the reference before phase two |
A sample proves the supplier can hit a standard when it chooses to; it never proves that every unit in the run will reach it. Treat the sample as evidence of design and capability, and use BIN matching and inspection — not the sample alone — to control the batch that follows.
A hand-built or showroom unit hides variation. A single cabinet cannot show the brightness and colour spread across a production batch, and that spread is exactly what decides whether the finished wall looks even or patchy. The sample confirms a configuration and a supplier's best effort; it does not confirm the run, and it never confirms packaging across a shipment. That is why the signed approval and the shipment inspection are recorded as documented values, as set out in our /blog/led-display-quality-inspection-report-guide.
| Aspect | The sample proves | The sample cannot prove |
|---|---|---|
| Build quality | The supplier can build well | Every unit will match |
| Brightness | This unit's output | Batch-to-batch consistency |
| Colour | This unit's colour | Colour spread across modules |
| Refresh rate | This configuration works | Driver consistency across the run |
| Mechanical fit | This unit's tolerances | Production tolerances |
| Packaging | This unit's packing method | Packing across the shipment |
Measure colour on a white field and a mid-grey field with a colorimeter, then compare each reading against a tolerance you wrote into the contract. Never accept "it looks fine" as a pass; state the acceptable colour difference as a number the supplier signed before the sample was built, so the decision is a comparison and not an opinion.
A white image alone hides faults. Display a full white field and a mid-grey field, then a dark gradient, and look for warmer or cooler patches across the modules. Record the reading at several points on the cabinet and note the conditions — ambient light, camera exposure, and the exact test content used — because a reading without its condition cannot be repeated.
The method matters as much as the number. Our guide to LED colour calibration at /blog/led-color-calibration-guide explains how the same reference and the same test content keep two readings comparable, which is what makes a pass/fail line enforceable rather than decorative.
| Test | Method | What a pass requires |
|---|---|---|
| Full white field | Colorimeter at set points | Every reading inside the agreed tolerance |
| Mid-grey field | Grid measurement | No patch or tint shift across modules |
| Dark gradient | Low-brightness viewing | Even low-end response, no banding |
| Warm-up repeat | Re-measure after running | Reading stable once the unit is warm |
Measure brightness with a light meter on white, at the centre and the corners of every cabinet, and require a maximum spread that is defined in the order. Brightness that passes on one cabinet can still fail on a wall, because mismatched modules create tiles that a single unit is never asked to show.
Ask for the uniformity ratio rather than a single nits figure. A wall that is bright in the middle and dim at the edges is usually a batch or BIN problem, not a driver setting, and it will not be fixed by a firmware tweak after delivery. Where the sample is one module, measure a small wall assembled from several cabinets so the spread is visible before the order is built.
For how these readings are recorded and reported, see our LED display quality inspection report guide at /blog/led-display-quality-inspection-report-guide, which frames each measurement as a value that carries its method and its condition rather than a bare figure on a certificate.
Judge seams by joining at least two cabinets and looking at the wall as one image, not by inspecting a single cabinet. Check module-to-module alignment, cabinet-to-cabinet gaps, and the flatness across a lifted section, because the seam is where a wall either reads as a continuous picture or as a visible grid.
The structural interface decides whether the screen survives installation. Confirm the hanging or mounting points, the tolerance in the frame, and the load path through the cabinet. A sample that demonstrates the image but not the bracket leaves the biggest risk untested, especially for rental, staging, or any wall that lifts.
A factory that builds its own frames and brackets can show the interface in the sample itself. Our /factory/ page shows the cabinet and frame production that a sample cabinet is drawn from, which is the part of the process a showroom unit often hides.
Test serviceability on the sample: open a module the way the site's technicians will, from the front or the rear as the design promises. A cabinet that is quick to build in the showroom but needs part of the wall dismantled for one dead pixel will cost the owner on every repair, for the whole life of the screen.
Check the spare-part story too. Ask which parts are common across the range and how a single module is replaced. A platform with shared components — such as the front and rear service design used across our /products/cob-cv-pro.html and /products/m-pro.html ranges — is easier to keep running years after the order, when the original sales contact has moved on.
Bring a real maintenance scenario to the sample review. If the wall will hang high, ask how a technician reaches the top row, and ask who removes the failed module. The answer tells you whether the mounting design and the service direction were built for the room or only for the showroom floor.
Write three constraints into the purchase order: one matched BIN for the whole run, the same driver IC model as the sample, and the same production line. A reserved BIN is not enough if the driver or the line changes, because the wall's evenness depends on all three working together, not on any one of them alone.
Brightness and colour vary between batches even of the same model. A wall built from mixed bins looks patchy no matter how good the sample was, so the order should reserve one matched batch for the run and record the bin codes. Ask what happens if that BIN runs short, because a supplier facing a shortage may substitute without asking unless the purchase order forbids it.
| Control | Requirement to state in the PO | Why it matters |
|---|---|---|
| LED BIN | One matched production batch | Even brightness and colour on the wall |
| Driver IC | Same model as the approved sample | Consistent refresh and grey scale |
| Power supply | Same model as the sample | Consistent thermal behaviour |
| Production line | Same line as the sample | Same process and handling |
| Firmware | Same version as the sample | Consistent control behaviour |
| Substitution | Written approval required | Prevents silent changes |
A golden sample is the approved cabinet, signed and kept by both buyer and supplier, that mass production must match in components, colour, and build. It turns a vague promise into a physical reference; without one, the standard is a photograph or a memory, and a dispute becomes a matter of impression rather than fact.
Keep two sealed units, one held by each side, stored in the same conditions and labelled with the model, batch, and date. The golden sample is only useful if it is representative: a showroom unit prepared for a visit is not a fair reference. Ask for a unit taken from the production line, and ask for the drawings and component list that go with it.
When the shipment arrives, compare a delivered module against the retained golden sample, side by side, under the same conditions. A mismatch in brightness or colour appears before the wall is installed, which is the last moment at which a fix is still cheap and the factory is still motivated to make it.
The approval document should name the model, the measured values with their conditions, the test content, the component list, and the batch codes — then close with a signature. A written standard is what makes the sample binding; without it, the sample is only a photo in an email and the production has no fixed target.
Name the components, not just the model. A specification that lists the driver IC, the power supply, and the LED brand prevents a silent substitution later. Where the written specification and the physical sample disagree, say in the order which one prevails — usually the specification is binding, with the sample as the worked example of it.
Ask, before paying, whether the sample fee and any tooling or mould cost are credited against the production order. Write the credit condition into the agreement rather than trusting a verbal promise, because the point at which the fee is returned is where sample disputes most often start and where memories most often differ.
Sample and tooling charges fund real work — a hand build, a custom bracket, a special frame — so expect a genuine cost and negotiate the condition for returning it, not the existence of it. The questions worth asking are whether the fee is credited on the first order, on a minimum quantity, or only when the same model is reordered, and who owns the tooling if you do not.
| Charge | Usual basis | Negotiate before signing |
|---|---|---|
| Sample unit fee | Cost of a hand build | Credit against the first production order |
| Tooling / mould | Custom frame or bracket | Ownership and reuse if you reorder |
| Certification test | Type test or report | Whether the report is reused for the run |
| Freight of sample | Courier cost | Who pays, and whether refunded on order |
| Sample rebuild | Design change round | How many rounds are included |
The three traps are a hand-picked sample, a material substitution after approval, and a single-cabinet test when the wall is what matters. Each one lets a good sample hide a production run that will disappoint, and each has a control that closes it before the order is built rather than after it ships.
A hand-picked sample shows the supplier's best unit, not the run's average. A component substitution — a cheaper driver, a different power supply, another LED brand — often stays invisible until the screen is in service, when the cause is hard to prove. Testing one cabinet cannot reveal the colour spread across a wall built from many, so the fault appears only at installation.
The remedy is consistency, not suspicion: a line sample, a named component list with written approval required for any change, and a wall-level test where two or more cabinets are joined. Add a pre-shipment check against the sample, framed for example in our guide to inspection before shipping at /blog/led-display-inspection-before-shipping, and all three traps lose their hiding place.
Run a first article inspection on the first units off the line, compared against the golden sample and the specification, so a drift is caught before the whole order repeats it. A first article that matches is a green light; one that does not is a stop signal, and it is far cheaper to correct at unit one than at unit one thousand.
A large or phased order is built over weeks, in batches, so inspect across the batches rather than only the first. A later batch can drift from the sample, especially if the components change mid-run. Inspect each phase as it is produced, not only at the end, so a drift is caught while the rest of the schedule can still be corrected.
Keep the record that makes the comparison possible: the approved sample's measurements, the component list, and the bin codes. A sample without records is a memory, not a reference. The same discipline applies across a range — a shared platform such as our /products-v2.html overview makes common components and spare parts easier to document for the whole family.
On a US project the sample-to-production step is usually documented, because the buyer has to show an owner or consultant that the delivered product matches what was approved.
Three points belong in the record. The approved configuration — module batch, driver setting and firmware version — since a change in any of them is what makes a delivered wall differ from the approved sample. The production check confirming the first production units match, evidenced before the run completes rather than after delivery. And the deviation record, where a component was substituted for availability, showing what changed and who approved it.
Two practical points. Where a substitution is unavoidable, record it deliberately and notify the buyer, because an unrecorded substitution is what turns into a rejection at acceptance. And keep the sample itself until the project is accepted, since the comparison is the evidence when a question is raised.
Before the run starts, confirm the sample is representative, the approval is measured and signed, and the purchase order names the BIN, driver, and line. These three together are what hold mass production to the sample you approved, and each is cheap compared with a run that misses the standard and cannot be reworked. The component set to lock — front and rear service, shared parts, and common spares — is easier to specify when the platform is designed for it, as in the range shown at /products-v2.html.
If the order is your first with a supplier, or the wall must read as one image, treat the sample as the start of a controlled process rather than a formality to be cleared at the end of a visit. Our team supports sample plans, measurement records, and approval documentation — start a conversation at /contact.html and we will map the checks to your specific order.
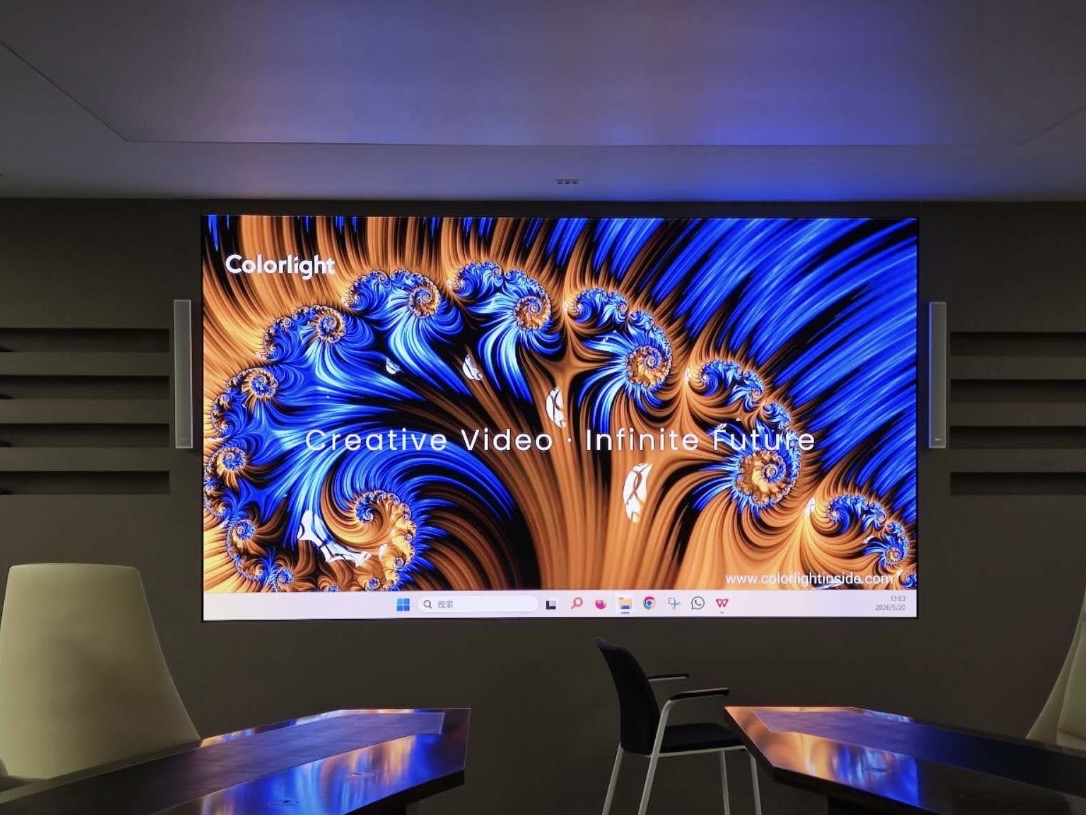
For this requirement our range covers it directly: the COB Z rental series (7680Hz flip-chip) and the COB ZH touring series (sealed, wind-rated).
Ask us how we keep production matching the approved sample with golden samples and first article checks.
Request Sample ProcessChat on WhatsApp